Hi everyone! This week I have revisited the technique wet felting. I won't be re-telling you about the process as I have already done this on a older post so there is a link below if you wish to see this.
Link to my post called textiles-week 2:
For my own wet felting I took colours and patterns from my sketchbook, mood boards and visual sheets to relate each piece to my work. Below are some images of the wet felting process:
Before felting wool
Before felting wool 2
Felting while its wet
These pieces were very easy to make and each piece felted well. The pieces were not necessarily A5 size as the pieces shrink due to the fibers fusing together this is a concept I need to consider for future pieces. I liked how the patterns and colours turned out and think that they would work well if I wanted to add a second process like embroidery or needle felting.
Felting pieces once dry
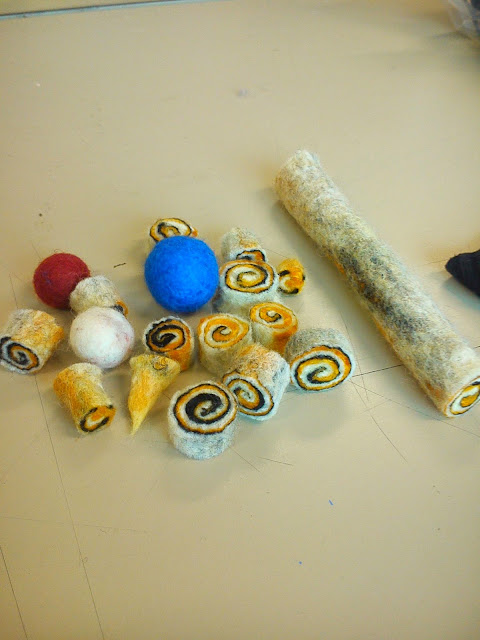
I also experimented with 3D felting making balls and rolls. The balls I made are in the colours of the french flag and the roll was swirled in the colours from a bike wheel.
Felt balls and rolls
These were all my first attempts and they all turned out to be quite good. I managed to get the shapes of the balls to be round and firm and the roll was felted tightly so there were no gaps. I had fun doing these although it tires your arms when rolling or rubbing the felt. It will be great to use within my final pieces.


No comments:
Post a Comment